 Linux环境下Python虚拟环境virtualenv的安装及使用
# virtualenv介绍
virtualenv是用于创建隔离的Python环境的工具。在使用virtualenv创建虚拟环境后,pip,setuptools和wheel默认情况下始终安装到创建的虚拟环境中(无论Python版本如何)。
# 应用场景
在开发Python应用程序的时候,比如系统安装的Python3只有一个版本:3.7。所有第三方的包都会被pip安装到Python3的site-packages目录下。
如果我们要同时开发多个应用程序,那这些应用程序都会共用一个Python,就是安装在系统的Python 3。如果应用A需要Django 2.2,而应用B需要Django 3.0。这种情况下,每个应用可能就需要各自拥有一套“独立”的Python运行环境。virtualenv就是用来为一个应用创建一套“隔离”的Python运行环境。
# 安装
pip3 install -i https://pypi.tuna.tsinghua.edu.cn/simple virtualenv --user
# 基本使用
比如此时我们项目A需要使用Django2.2版本,项目B需要使用Django3.0版本。这时候就需要使用virtualenv为这两个应用各自创建一套独立的Python运行环境。
# 为项目A创建一套虚拟环境
virtualenv ~/.virtualenvs/my_django2.2
然后激活项目A的虚拟环境
source ~/.virtualenvs/my_django2.2/bin/activate
在项目A的虚拟环境安装Django2.2
pip3 install -i https://pypi.tuna.tsinghua.edu.cn/simple django==2.2
安装Django2.2成功后查看Django版本验证一下
python3 -m django --version
如果终端输入2.2则证明Django2.2已安装成功。
接下来就可以创建我们第一个Django项目了
django-admin startproject mysite
然后确认一下Django2.2项目是否创建成功了
cd mysite/
python3 manage.py runserver
2
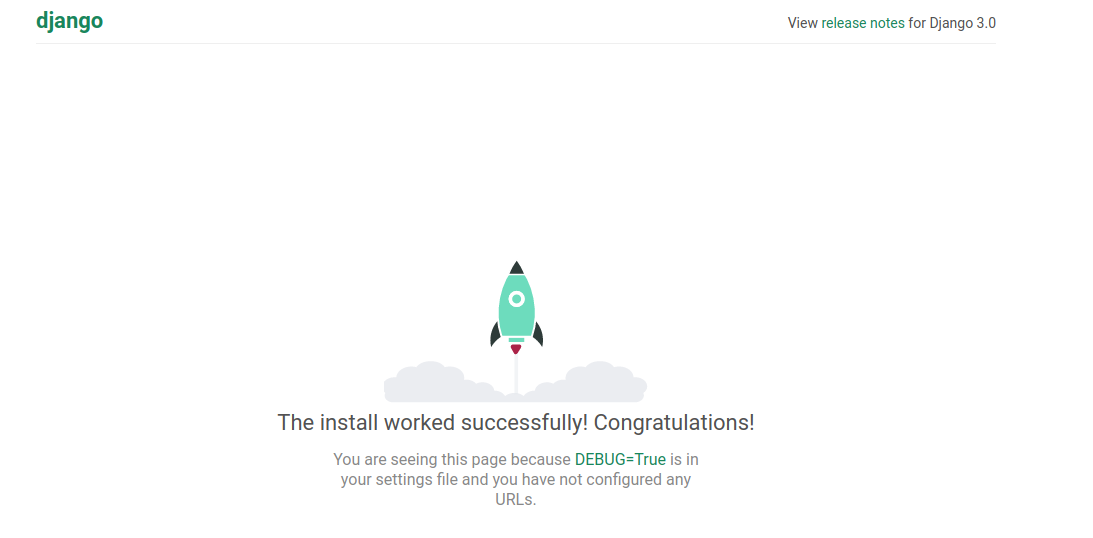
浏览器访问 https://127.0.0.1:8000/ 。我们将会看到一个“祝贺”页面,随着一只火箭发射,Django2.2项目已经启动成功了。

将项目所需要的依赖库导出到requirements.txt文件中
# 会在当前文件夹下生成Django2.2项目的依赖库清单文件:requirements.txt
pip3 freeze >> requirements.txt
2
然后退出Django2.2项目的虚拟环境
deactivate
如果现在项目A开发完毕需要在服务器上线该项目,就可以在服务器通过以下命令一键安装项目A所需要的依赖库。
# 前提是需要将requirements.txt文件也随项目A上传到服务器中
pip3 install -r requirements.txt
2
然后就可以在服务器端激活该项目的虚拟环境并启动项目A,然后整个流程就结束啦。
# 接下来为项目B创建一套虚拟环境
virtualenv ~/.virtualenvs/my_django3.0
然后激活项目A的虚拟环境
source ~/.virtualenvs/my_django3.0/bin/activate
在项目B的虚拟环境安装Django3.0
pip3 install -i https://pypi.tuna.tsinghua.edu.cn/simple django==3.0
安装Django3.0成功后查看Django版本验证一下
python3 -m django --version
如果终端输入3.0则证明Django3.0已安装成功。
接下来就可以创建我们第一个Django项目了
django-admin startproject mysite3
然后确认一下Django3.0项目是否创建成功了
cd mysite3/
python3 manage.py runserver
2
浏览器访问 https://127.0.0.1:8000/ 。我们将会看到一个“祝贺”页面,随着一只火箭发射,Django3.0项目已经启动成功了。
将项目所需要的依赖库导出到requirements.txt文件中
# 会在当前文件夹下生成Django3.0项目的依赖库清单文件:requirements.txt
pip3 freeze >> requirements.txt
2
然后退出Django3.0项目的虚拟环境
deactivate
# virtualenv其它参考用法
Usage: virtualenv [OPTIONS] DEST_DIR

Options:
  --version             show program's version number and exit
  -h, --help            show this help message and exit
  -v, --verbose         Increase verbosity.
  -q, --quiet           Decrease verbosity.
  -p PYTHON_EXE, --python=PYTHON_EXE
                        The Python interpreter to use, e.g.,
                        --python=python3.5 will use the python3.5 interpreter
                        to create the new environment.  The default is the
                        interpreter that virtualenv was installed with
                        (/usr/bin/python3)
  --clear               Clear out the non-root install and start from scratch.
  --no-site-packages    DEPRECATED. Retained only for backward compatibility.
                        Not having access to global site-packages is now the
                        default behavior.
  --system-site-packages
                        Give the virtual environment access to the global
                        site-packages.
  --always-copy         Always copy files rather than symlinking.
  --relocatable         Make an EXISTING virtualenv environment relocatable.
                        This fixes up scripts and makes all .pth files
                        relative.
  --no-setuptools       Do not install setuptools in the new virtualenv.
  --no-pip              Do not install pip in the new virtualenv.
  --no-wheel            Do not install wheel in the new virtualenv.
  --extra-search-dir=DIR
                        Directory to look for setuptools/pip distributions in.
                        This option can be used multiple times.
  --download            Download pre-installed packages from PyPI.
  --no-download, --never-download
                        Do not download pre-installed packages from PyPI.
  --prompt=PROMPT       Provides an alternative prompt prefix for this
                        environment.
  --setuptools          DEPRECATED. Retained only for backward compatibility.
                        This option has no effect.
  --distribute          DEPRECATED. Retained only for backward compatibility.
                        This option has no effect.
  --unzip-setuptools    DEPRECATED.  Retained only for backward compatibility.
                        This option has no effect.
2
3
4
5
6
7
8
9
10
11
12
13
14
15
16
17
18
19
20
21
22
23
24
25
26
27
28
29
30
31
32
33
34
35
36
37
38
39
40
41
- 01
- Python实现对字符串的加解密02-25
- 02
- Python3对大文件中指定字符进行排序再写入到新的文件10-24
- 03
- Ubuntu下配置adb环境连接Android设备进行调试08-17